Hey! Today marks my last day as a CCEPS Fellow and the experience that I have gained in this fellowship is priceless. Learning and being a part of the process of digital surrogates has been very tedious but definitely necessary. That is one of the reasons why I like this blog so much. It is one of the perfect opportunities for more people to know more “behind the scenes” of things that seem to be easy. Creating a digital surrogate is not as easy as it sounds. Each detail is vital to the accessibility of the resource. Although the work turned out to be more arduous than I expected, I am so thankful that I got to learn so much more about it.
Blog Entry 009; Recovering Lost Data and Correcting Scans
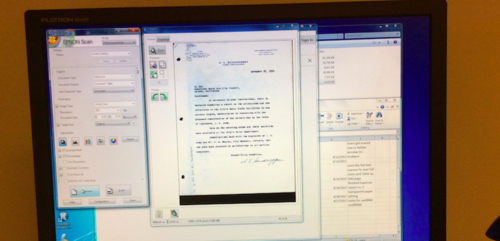
It is always a horrible feeling when you come into work and find out that your last spreadsheet didn’t fully process its final save. I lost a lot of metadata work, so this week I have been focusing on recovering that work and double checking all of my digital surrogates for possible re-scans.
The work is definitely tedious but the tedious work is overshadowed by the fact that my co-interns and I are helping to create an online resource that is going to be vital to so many researchers, historians, city planners and many more. Therefore, although I was deeply disappointed when I discovered the final copy of my metadata spreadsheet did not save, I didn’t mind digging into my memory and reviewing the digital surrogates over again.
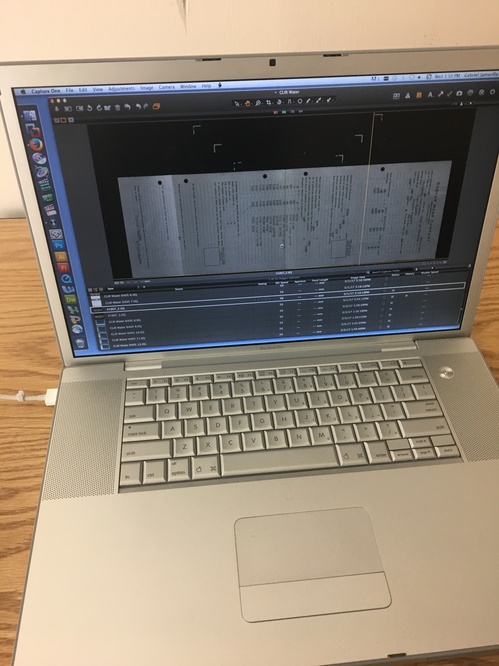
Although the name of our online archive is “California Water Documents” states such as Colorado and Arizona are mentioned in our digital surrogates. The Colorado River and The Yuma Project, respectively. Even if you aren’t a researcher or a historian, we encourage everyone to check out our archive because it’s interesting to find out about the history of the state you live in, want to live in or want to visit.
Blog Entry 008; My first photo album
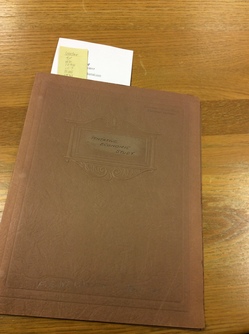
This week I used the book scanner in the Special Collections Reading Room to scan a photo album about the San Antonio Canyon. The digital surrogate is in individual TIF files that I will learn how to combine and convert into PDF files when I come back from vacation on June 19th. Normally when I scan resources with the book scanner, the digital surrogate is in PDF format. However, making the digital surrogate start off as a TIF file is a slightly different process that I prefer.
The process starts by aligning the page you want scanned on the book scanner (in this case making sure there is no glare on the images from the light in the room) and importing the image from the scanner into Adobe Photoshop. Cropping and rotation may be required for fine tuning but other than that I saved and labeled the image correctly and proceeded to scan each individual page. I did the odd pages first so that I wouldn’t have to keep rotating the photo album, and then after all of the odd pages were complete I went forward with the even pages.
Since my resource was a photo album, TIF files (in my opinion) are more clear and in depth than PDF files. The high resolution (600 dpi; Color Photo) captures the perfect essence of each photograph along with the typed out captions that are cut out of paper and glued near the images. This photo album has been my favorite resource thus far to create a digital surrogate for because I love photography. I took a photojournalism class in middle school and ever since I have considered photography one of my favorite hobbies. The elements of photography that show up in this fellowship are elements that I will always cherish.
Blog Entry 007; The Hidden Document
 In last week’s blog post I talked about metadata and how I am beginning the process for my digital surrogates. Turns out when I was gathering all of the physical copies of my digital surrogates I had overlooked one source. When I was looking at the transaction list on my Aeon account and checking off each physical copy with their transaction request number, I noticed that one transaction number did not have a corresponding physical copy in the pile that I pulled. I reviewed our storage shelf for the “missing” document. When I found it I had no recollection of ever scanning it and I was slightly disappointed in my oversight.
Thankfully I caught the oversight and I have enough time to create the digital surrogate for it. And of course there is one oversized item in the document that requires me to become reacquainted with  the camera room. Just when I thought it was smooth sailing from here (reviewing the digital surrogates and creating subject terms and descriptions for them), I have to do a mini crash course on creating a digital surrogate. One positive note that I enjoy is that this special surrogate will allow me to do an uninterrupted process of physical copy to digital surrogate to metadata creation. The first 16 digital surrogates that I created did not have such a smooth route, there are days and even weeks between their scanned dates and metadata processing dates. Hopefully by the end of this fellowship I will have 17 complete copies of digital surrogates and corresponding metadata forms.
Blog Entry 006; Mega Metadata
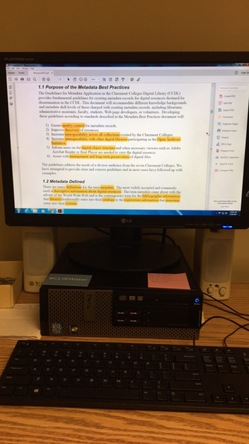 This week I spent a lot of time reading about metadata practices and taking notes so that I can prepare myself for creating metadata for the digital surrogates that I have created these past six weeks. Dublin Core and Non-Dublin Core elements as well as a data dictionary created by the digital library staff have been my best friends this week. Before I start reading through my digital surrogates in order to gather keywords and create descriptions, I have been gathering property data such as format and size information and creating Microsoft word documents in order to organize the data. Next week I plan on summarizing the context of the digital surrogates and reviewing Library of Congress Name Authorities. My “biggest” challenge would be converting our tif files into the pdfs that they accompany. Our tif files are of the oversized documents that we could not fit onto a scanner for their digital production (I talk more about them in Blog Entry 003; Photography and Photoshop). One part about metadata that I find interesting is the organized attention to detail; the most vital part about a digital surrogate is its metadata because the metadata is the key to the discovery and utilization of the digital surrogate. Although the process may seem meticulous, I appreciate its purpose.
Blog Entry 005; My biggest report yet
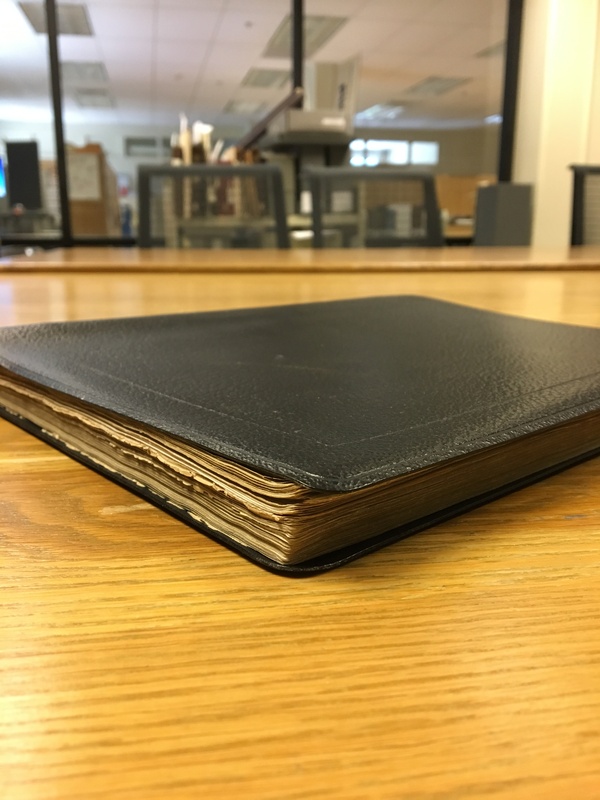
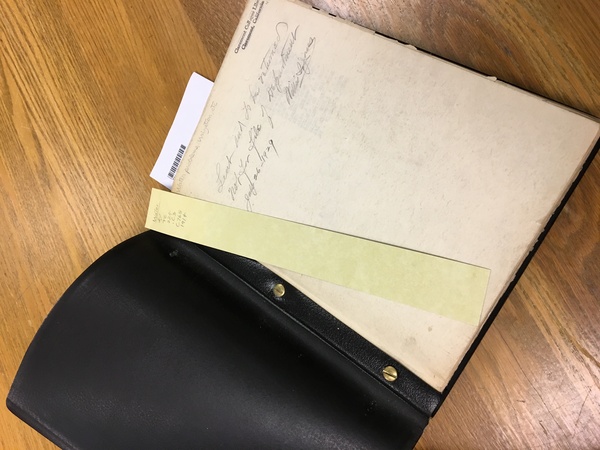
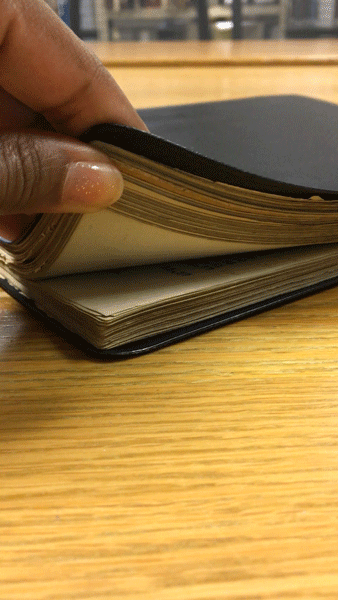
Never judge a book by its cover or the amount of pages that you think it has. Last week and this week I finished scanning a report that seemed endless! I spent hours scanning typed pages, maps and photographs. Despite the meticulous hours, I am pleased that the end product is an informative and intensive digital report that would be a valuable resources for any potential researcher. Below are images and a gif of it’s physical form:
Blog Entry 004; Book Scanner
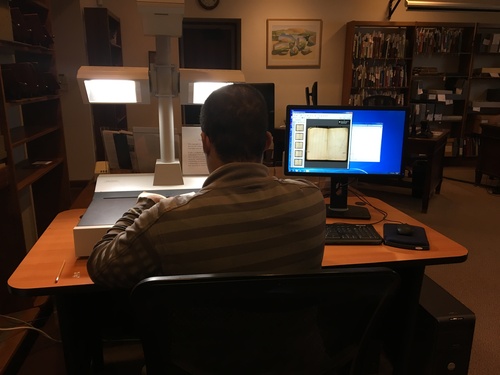
This week my co-worker and I used the book scanner in the Special Collections Reading Room. We came across some delicate pieces in the Water Resources Collection and the book scanner helped us preserve the document. From my point of view, the book scanner looks like the overhead projectors that my middle school teachers loved to use. The amount of detail that the book scanner picks up is quite amazing though. I used the book scanner for two resources that had glue binding and would tear if they were folded or flattened out by the top of a regular scanner. Below is a picture of my co-worker scanning a small book filled with handwritten field notes. It is awesome that this book scanner is available for any patron to use in the Special Collections Reading Room.
Blog Entry 003; Photography and Photoshop
For the past few weeks I have scanned a few reports that included oversized documents. These oversized documents require us to go downstairs and utilize the camera room. Our camera room is equipped with a professional grade Hasselblad camera, two oversized lights, an oversized projector that you can mount the camera on as well as a tripod, a stepping stool, a white board with multiple magnets and a value swatch sheet to help with the white balance of the photo, a few tables and cords and a macintosh laptop to help process and save the photos.
We use Capture One to process and adjust the white balance of the photo. After we adjust the white balance and make sure the item in the photo is properly aligned with the vertical and horizontal grid lines, we process the photo for the output folder and from there we open up the image in photoshop and crop it accordingly. I like to name the tif file after the document processing number (according to its original report and pdf) and the Aeon transaction number that correlates with the online request for the primary source.
The hardest part about processing oversized items is making sure that the item in the photograph properly aligns with the grid lines in Capture One. So many factors can affect the alignment of the item prior to it showing up on Capture One. Such as, the camera could be tilted or crooked on the oversized projector or the tripod, the item could look completely straight and aligned to you but show up at a 57 degree angle once the image is processed, and a plethora of other random things. When you take your first shot, you want to cross your fingers and hope that it comes out properly aligned on Capture One.

However, if your hopes were not acknowledged and it came out crooked on Capture One, you have to do a bit of mental geometry in order to find the right angle that would match up the item with the grid lines. For example, the photograph on the right is of a blueprint that we were in the process of photographing. Does it look properly aligned to you? Well according to Capture One, we were off by 20 degrees. Doesn’t really sound like a lot but it looks like a huge difference. Aside from how close you have to pay attention to details, the camera room is really interesting to work in.
Blog Entry 002; Blueprints and Tracking Down Sources
One of the cool things about digitizing the Water Resources Collection is reviewing the blueprints. Although we are not in the metadata stage right now, scanning the smaller blueprints is really interesting. There is not as much time spent on the larger blueprints because we have to put them on hold for photography or the overhead scanner in the Special Collections Reading Room. However, these blueprints highlight irrigation systems and other notable rivers such as the Colorado River and the San Luis Rey River.
The reports and correspondence letters to different organizations and professors can range from 13 pages to 75 pages. The more bulky reports typically have 3-5 blueprints inside. And the blueprints are either cutouts of larger blueprints or the whole entire sheet folded strategically so that it can fit into the portfolio. Varying between an all-blue or an all-white background, the blueprints either have white or blue ink (respectively).
Although I love my work station, I have a favorite scanner that I like to use for my portfolio covers and blueprints. It is a flat bed scanner that is connected to the desktop work station opposite me and its resolution wins my heart. Cropping and adjusting the histogram scale of the blueprints is much more easier with a flatbed scanner.
Another interesting thing about working with these resources is properly tracking them down to submit requests for them. For example, when most of my materials are digitized from my prior shift, I notify my supervisor and she gives me a list of items to submit Aeon requests for. I like to do this part at the beginning of my shift because it could be tricky sometimes: Most of the time you can type in the full title of the item and find it in the library catalog, but 2 times out of 5 you are going to have to pick out keywords from the title in order to find them in the online catalog. For example, it took me 8 different search forms to find a correspondence letter. I searched by the title, call number, the person the letter was addressed to, the name of the river it mentioned, the date of the letter, partial call number and given person, and partial call number and name of the river. Finally I just searched the river and restricted the search to only special collections and sorted the results alphabetically. The search process can be tricky because the titles of the documents are long. With primary resources, it is common to have resources with long titles because there has to be attention to detail and a lot of keywords are vital and cannot be leftout.
Therefore, whenever I tell someone that I am digitizing the California water documents and they reply back “Isn’t that boring?”, I have no choice but to tell them that it is much more complicated than it sounds.
Blog Entry 001; Transparent Paper
Although one of the vital first steps of digital archiving is tedious it also builds up the excitement for the metadata stage. For the past week, I have been scanning reports and correspondence letters of California water systems and planning resources. Along with carefully unbinding reports and time tracking the scanning process, the biggest challenge that I have encountered is the complexity of scanning typed transparent paper.
Each scan has an adjusted histogram light contrast scale and helps create the sharpness of the digital document. Since the transparent paper is so sensitive to the scanner’s screen and light, any slight adjustment on the histogram scale will make the digital version of the document look too washed out or too blurry. Playing around with the histogram scale, I had to find the best way to create a clear digital copy that stayed true to the document’s original form and also proved to have the sharpest contrast. Below are images of the different adjustments of the histogram scale.